Monday, October 27, 2014

Bohol 2014

For someone who loves the beach but hates travelling by water, Bohol is a great place to go. It is an hour and fifteen minutes from Manila - 45 mins by air and 30 mins by land.

So, since hubby is not so thrilled with boat rides, we chose Bohol for our honeymoon. We got a very nice place to stay and enjoy the September sun.

We had a great time in Bohol during out short period of staying there. As short as it seemed, I cannot cram the whole experience in just one article so I will be posting it in two to three installments.

To start off, let me show you our hotel.


The Hotel

We loved Amorita Hotel! It is a hotel at the Panglao Island that exudes cozy and relaxing ambiance. The staff is great! Polite and always available to cater to your needs. We loved the warmth that they showed us. It is amazing how it sort of rubs off with everyone - tourists and locals. All the people around seemed to be happy and kind in Bohol.


The Food

It was lunch time when we arrived so the first thing we did was eat. Their food at the hotel is simply delicious. The food is reasonably priced and when they brought it to our table, it was a pleasant surprise!

The crab cake is glorious! The patty is full of crab meat and the combination of greens, ripe mango, and what seemed like hollandaise sauce was marvelous. The candied walnuts and goat cheese added dimension to the dish.

We had smoked tomato soup served with mozzarella toasts. The classic pairing of tomato and cheese is very good and appeals to me very positively.

Hubby loved their Beef Salpicao - perfect partner for beer. :) Its delicious tender beef and juicy mushrooms topped with generous amount of toasted garlic is great.

The classic fish and chips is kept simple and true to its nature. I like how hot and crispy it was when  served.


For dessert, we decided to go with their local turon, though, it is very similar to our Manila version.


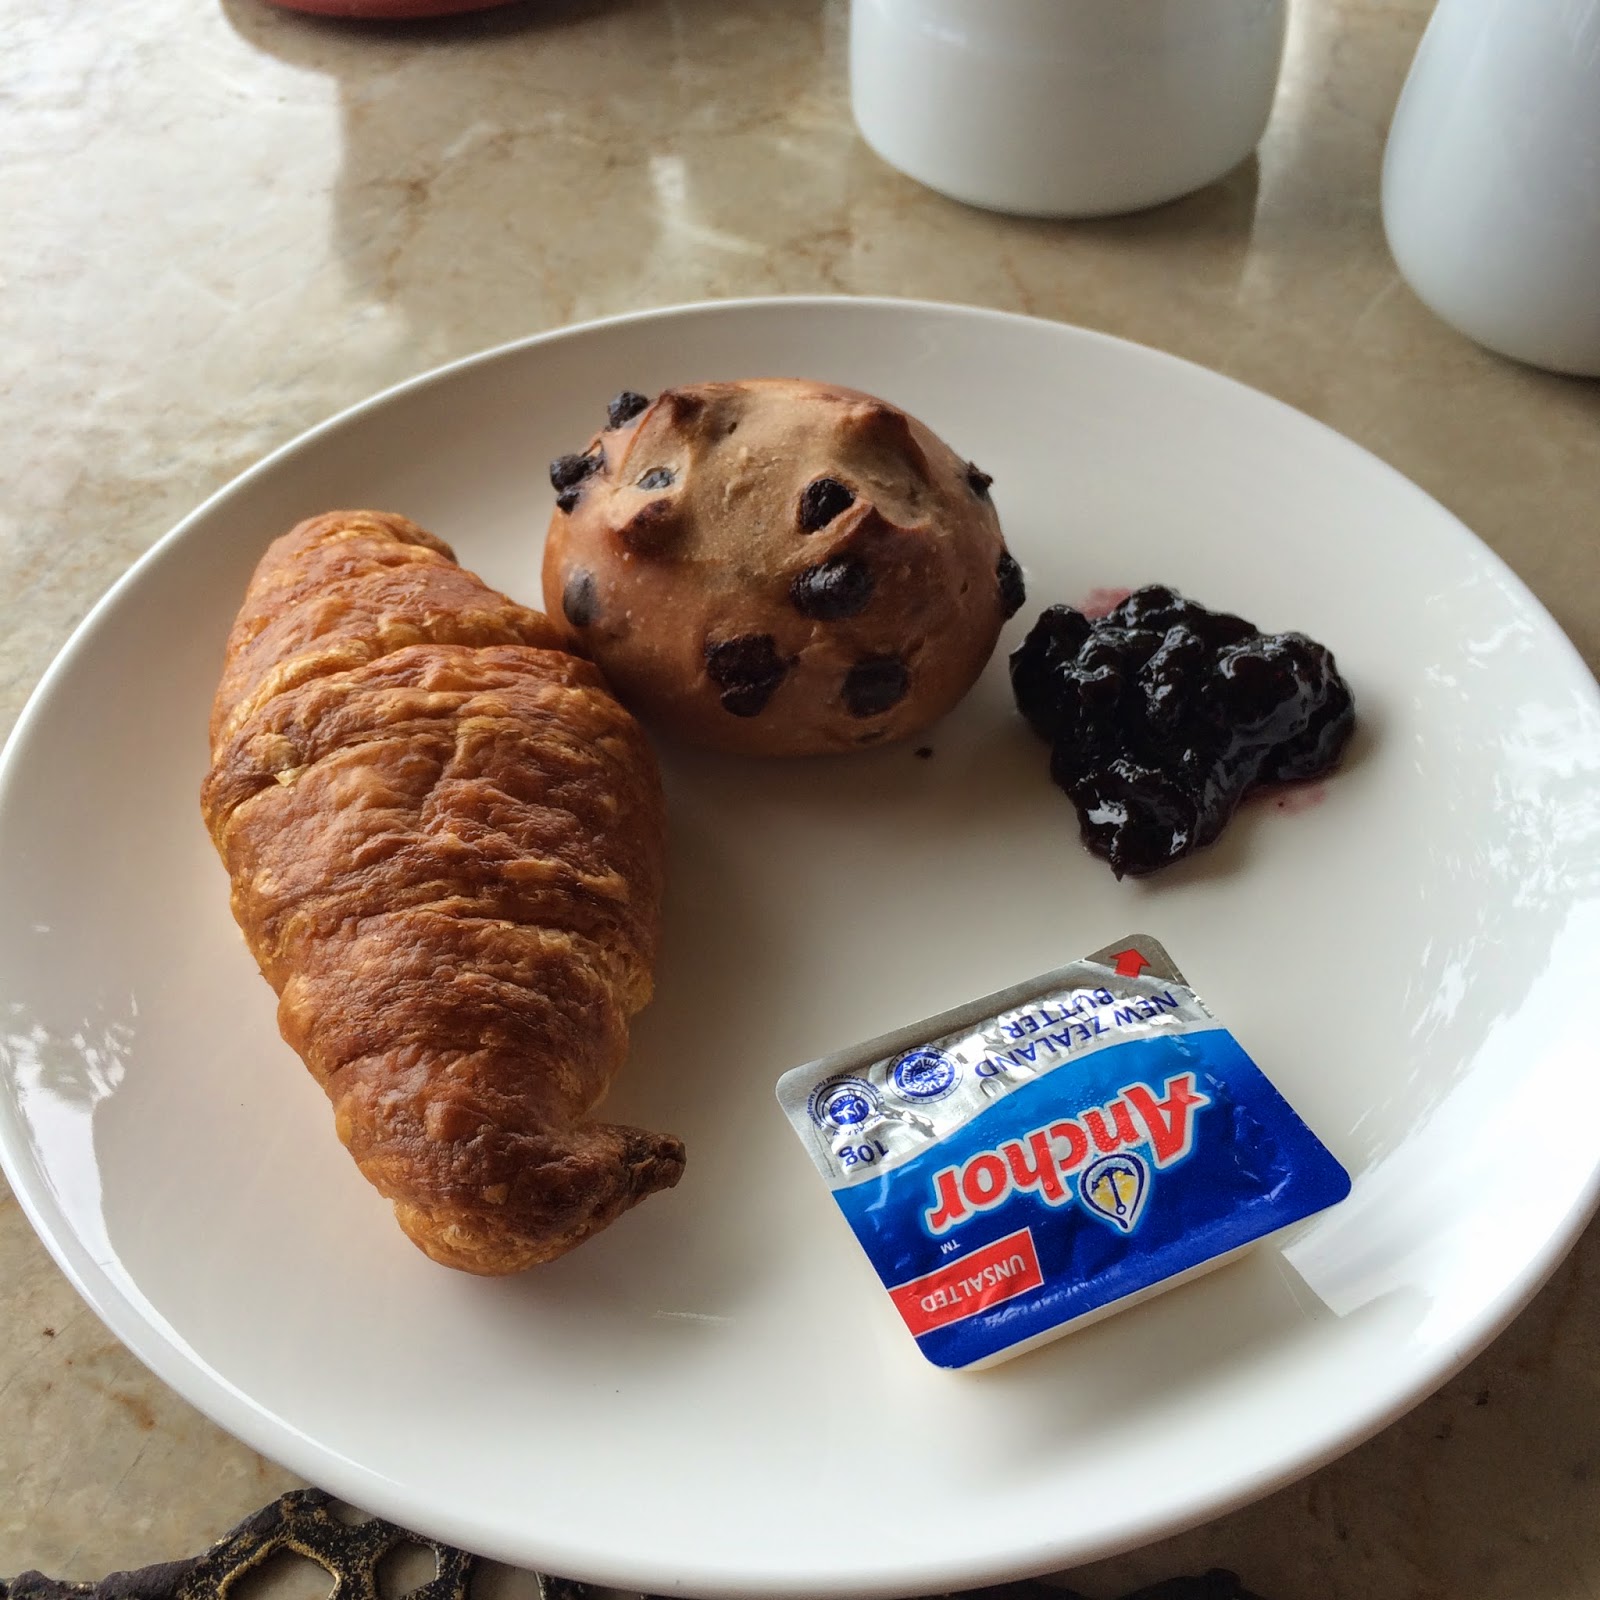
Our breakfast on the following day was a feast! We got too excited to eat we forgot to take photos of everything. It's a buffet and the selection is great. They have quite a spread from cereals to bread and patries accompanied with a selection of cheeses, jams, and butter, to rice, bacon, and danggit to arroz caldo. They also have a waffle and omelette station. Free flowing coffee and fruit juices are also served. One of the waiters came over to offer me their native chocolate drink. It was good - thick and authentically Pinoy! Just like how my grandma used to make at home.

The Room

After lunch, we went ot our room, it was quite far from the lobby and the Saffron restaurant but considering the size of the property, it is quire reasonable. Though, they apologized to us that their golf carts are not available at the moment. I believe they are in the midst of expansion because there's a secluded area with ongoing construction. The area, where our room is, is fairly new as per management.

I love the interior of our room! It is spacious and cozy. I wouldn't mind having a home patterned to this. :)

The dining and kitchen area is what we've stepped into. It is small and minimalist which is good because we don't normally need a lot of kitchen room when in a vacation.

Here's the view from the inside.


The living area is spacious for just the two of us! We lie and relax comfortably on the big L-shaped sofa mainly to watch TV.

When we got in, the bedroom was set up especially for us. Petals of yellow and red flowers greeted us bidding to enjoy our honeymoon. The bed was huge  even for us two! I can freely roll over on my side of the bed and still have a few inches from the edge. Two thumbs up for that!

I love that the shower and toilet has their own separate spaces each with separate door too. Then a bath tub is here at the corner invitingly so we were tempted to have a nice warm soak. :)

Hubby and I really loved the Amorita hotel. But  I believe what made our experience a great one is the people. Every staff is so kind and attentive it makes you feel special. From the receptionist to gardeners to electricians, everyone that we bump into will greet us warmly with smiles that truly reaches their eyes. 

We would love to be back to enjoy not only the beautiful place but also to see these beautiful people again.


Bonus: I saw this just as we are leaving. They do have free yoga class every Saturday. So if you are a yogi, or want to try yoga and you happen to be in Amorita, just go ahead and sign up.


Monday, September 22, 2014

Breakfast for Lunch at Stacy's


Stacy's All Day Breakfast is a cozy place to channel the inner child in you while enjoying a hearty breakfast meal. It is decorated in such a way that looks like a kindergarten school. Simple yet it give a light and vibrant ambiance. 


I like that the decors are simple and it inspires you to try and do-it-yourself for your next event. :)


Nice little mug of appetizers are served. It has pretzels, popcorn, and marshmallow. It's free. But if you have a kid with you, you wouldn't want them to eat it first as it in on the sweet side.


The meals are sumptuous and the servings are big.

Layered Sausage and Potato Pie is layered ground beef and Hungarian sausage, topped with mashed potatoes and cheese. It's served with rice and buttered corn and carrots. It is so filling, I can't finish it.

Layered Sausage and Potato Pie

The Rice 'N Shine includes savory garlic longanisa with vinegar on the side. It also has onion and tomato omelette and garlic rice.

Rice 'N Shine
Stacy Jones is their version of Tapsilog. It is composed of their yakiniku cut beef sirloin served with eggs and garlic rice.

Stacy Jones

All in all, what I like about Stacy's is the ambiance and the big serving of their food. All the food we tried tastes good too.

Tuesday, September 16, 2014

Wedding Day Tips for Bride

It was my first time getting married. And I guess that's the same case for most of the Filipino women I know who are tying the knot soon. With this said, it can be difficult to "learn from experience" on how to do this event the right way. It is also a church wedding, so needless to say preparation is a must. Thank goodness there are wedding coordinators who will shed tears of blood to make your special day truly eventful. Still, they are not the bride, and their experience can differ. So, I have compiled a few tips to make this memorable day a little bit more comfortable.

1. The Gown. You spent a small fortune for your gown, so it is only right that your couturier is there with you on your big day to clothe you with his/her creation. If this had not been discussed before, ask. Couturiers usually do this so you shouldn't have to bargain for it. There is something reassuring to have her there at your rescue in case anything will happen (although we hope not). From a small rip (which can grow big without you knowing), to some parts that doesn't quite fit right. It is best that your couturier is there for all of this. It is your day, and your gown have to be perfect. But in case your couturier is not really available, have someone else be there during your last fitting who knows how to work you gown and make it fit perfectly.

2. The Shoes. If you haven't broken it in yet, it's too late for that now. But at least make sure you can walk in it. High heels are very nice to look at, but you will wear it for a long time. At least one hour during the ceremony, although you will most likely be sitting most of the time, you will have to be standing afterwards to take photos and videos. If you really want to wear super high heels, have plans to change into something you can really walk with after the ceremony. Remember that your photographer might ask you to run going out of the church. Include band aids in your bridal pouch. Put them on already even if it doesn't hurt yet, you may never get the chance to put them once the ceremony started.

3. First Aid Kit. Tell your coordinator to have it. If you don't have a coordinator, give it to one of your bridesmaids but make sure to give it to someone who doesn't have a major role in the ceremony as they might forget to bring it. Make sure you have different kinds of medicine to cover everything - flu medicine, loperamide, anti hyper-acidity tablets, vapor rub,band aids etc. This will save you in case you forget to bring your band aids. And if you or anyone from the entourage is feeling ill, you know that they can find relief in your kit. Same goes with your working crew, especially for the photographer. Sometimes the discomfort they may have can reflect in the quality of the pictures.

4. The Photographers/Videographers. Yes, you hired and paid them and they owe it to you to be professional and suck it up to capture the best photos from the great event in you life. Still, know that they are only human and they have needs. Make sure that they have eaten and hydrated, They will not be able to work if they would pass out as you say your "I do's". The ceremony is about one hour only, but take into consideration that they also capture all the preparations and that might cover the whole day for them. Plus, they might work extra hard if you are nice to them.

5. Bridal Pouch. I never thought I'd need one. In my mind, I will just walk holding a bouquet. I don't need a pouch or any kind of bag to put some stuff in. And I was so wrong. Living in a tropical country, you need a fan if you want to stay fresh before getting out of the bridal car. The air conditioning in the car is good as it is made for this purpose. But still, when you are tensed and nervous, you tend to sweat so you need a fan and some tissue to wipe the sweat from your perfectly made up face. You can also put your vows in there, as well as your phone. You see, the groom has pockets, a lot of them, in his pants and suit. While you don't. So make sure you have something to put the essentials into. Remember, only the essentials. You wouldn't want stuff bulging out of it and you wouldn't want to be carrying something heavy during the ceremony.

But the best tip I can give is to know that your wedding day is the happiest day for you and your husband as you become one, blessed under the sacrament of matrimony. And nothing can happen that will make it otherwise. So keep your cool, you are getting married. Sit back and enjoy the show.

I hope these tips are helpful for the future brides out there. If you have questions, just shoot me a comment. :)


Sunday, July 27, 2014

DIY: Easy Classy Wedding Invites

Wedding invitations. These small packets of paper are a great way to send a good impression to your guests regarding your most awaited wedding. However, it can also be a very expensive one. As a practical bride preparing for the more important expenses that come with being married, you would probably want to cut the cost on these. You can cut cost through the number of invitations and you can also cut the cost for each set of invites.

Cutting Cost on the Number of Copies

Usually, you only give one (1) invite per family. You can also do the same for every group of your friends. You can allocate one for your whole college barkada, and one for your high school friends. Same goes with your office mates and other groups of friends you may have. Still, it is your prerogative to send one specially for your boss or school adviser. But I think it is fine if they are also included in the groups.

Cutting Cost of Each Copy

I always say, a little imagination and a little effort can go a long way. So, I designed our invites through Microsoft PowerPoint. If you have more technical background (yes, you who does graphic arts for a living), you might find better means to create the template and design of your invites.

Designing your Invitation:

There are a few things needs to be in your wedding invitation. Here is a quick guide:
  1. Basic details.This is a given. You need to include the name of the two of you, the venues, and the date and time. In our case, we also have the name of our parents
  2. The Entourage. Not sure if this is what's normal in other countries but in the Philippines, people receiving the invites would like to know who are included in your entourage. We placed them on the back of page 1.
  3. RSVP, Attire, Gift request/Registry. All of these are on the third page. We placed how many seats we reserved for them. I'm still hoping they would follow the numbers. Haha!
  4. The Map. The last page is the map to guide your guest as to where the venues are. I also included a few numbers they can call in case they get lost or confused with the directions.
Make all these as creative as you want. There is really a lot of possibilities. Put them the way we did, interchange the position of some info or put everything simple in one big enough page. It's really up to you. Make if playful or formal, the important thing is to make them reflect your theme and your personality as a couple. 

The photos below is our wedding invitation. It costs about 46 pesos each. I had the pages printed for forty pesos but if you have a good enough printer at home, you might be able to save more. :)

The two page back to back print out

I wanted to add a little bit of my baking background so we decided to use doilies as the envelope. We also used a midnight blue ribbon to "tie" it to the color theme.

Choosing the size of the doily is quire tricky. The 10" is a little bit too small while the 12" is overlapping for our 5" print outs. We went with the 12" as the overlap is quite a beautiful touch.
 

Center the invite in the doily and fold both sides.
 

I cut out the excess.
 

As I go, I noticed it was easier to cut the excess once the ribbon is tied. So, that's what  I did on the next ones.
 

Be careful when tying the ribbon. The doily is only made of paper and could easily break.
 

And here is the finished ones. :)
 

Some more photos. teehee :)


   I really loved how they turned out. They fit perfectly with our vintage/classic theme. :)

Hope you liked this tutorial

Wednesday, July 16, 2014

Keep Your Sleeves Up

Have you ever struggled keeping your sleeves up? Well, with the weather we are in, it is time to bring out all the nice and cozy long sleeved shirts and sweaters. But we all know that work will still be the same no matter the weather, so we tend to roll up those sleeves for us to be able to work faster and more efficiently. 

The challenge is keeping those sleeves up. As we wear it through the day, fabric gets loose and stretched and would sometime roll back down. The solution - just a handy dandy rubber band! Here's how to wear it.

In the morning, your sleeves are still quite tight. Not a lot of pulling and tugging yet.


By noon, it starts to fall back down...


It is time to bring out your rubber bands. :) Just one for each arm. This could be a thin hair scrunchy or any other thin elastic that you have. It shouldn't be too small because it may cut the blood flow in your arm and be quite uncomfortable. For average girl arm, you can use regular rubber band from your office supplies.


Just put it over your sleeves and place is in one of the folds rolling them up creates.


And, your sleeves are safe for work! :)

Monday, July 14, 2014

Loom Band Hack No. 2

How To Make a Willis Bracelet Faster


Those who are familiar with the Willis Bracelet would know how tedious it can be to do one bracelet. It is a process of putting the bands in the pegs, adding more bands, taking it off every time you add some more bands, and putting it back. (For those who are not familiar, there are several tutorials in Youtube.com). So, I thought there should be an easier way.

I am hoping you get the idea based on the pictures alone. :)

Instead of working on the same four pegs over and again, use all of them! Set up the bands on over four pegs as you would on each run. This way, it would be faster and you can also double check if you have all the right colors at the same time.


Instead of attaching the long base ones (individual connected bands) on each peg every time you will do 8 bands, just pull it through the gaps in between. It is easier to slide all the bands through the length of the long base bands connected bands. Do the same for all the 4 base bands.


Continue to do so until you reached the end of the long base bands. Use c-clips to connect them together.